How to Write an Art Unit Plan That Actually Makes Sense
Jul 21, 2026
How to Write an Art Unit Plan That Actually Makes Sense
Writing an art unit plan can feel a little like trying to organize an entire art supply closet after a full school year. You know there is something useful in there. You know the pieces are connected somehow. You can see the projects, the skills, the standards, the materials, the vocabulary, the assessment, and the final artwork floating around in your brain. But getting all of it into a clear plan that actually makes sense can feel like a lot.
And if you have ever sat down to write a unit plan and suddenly thought, “Wait… is this a lesson? A unit? A theme? A project? A life choice?” please know you are not alone.
For art teachers, classroom teachers, and homeschool educators, an art unit plan should not feel like a giant complicated document that only exists to impress someone with a clipboard. A good art unit plan should help you teach with more clarity. It should help students build skills over time. It should connect lessons in a way that feels purposeful, not random. And most importantly, it should make your teaching life easier, not more chaotic.
Because a strong unit plan is not about doing more.
It is about making the learning connect.
What Is an Art Unit Plan?
An art unit plan is a group of connected lessons that work together around a bigger idea, skill, theme, artist, medium, or concept. Instead of teaching one isolated project and then jumping to something completely unrelated, a unit helps students build understanding step by step.
A unit might focus on the elements of art, such as line, shape, color, texture, value, space, or form. It might focus on a medium, like drawing, painting, collage, printmaking, ceramics, sculpture, or mixed media. It might focus on an artist, culture, season, big question, or creative problem.
For example, a unit on color theory might include lessons on primary and secondary colors, warm and cool colors, color mixing, complementary colors, and a final artwork where students use color intentionally. A unit on self-portrait art might include observation, facial proportions, identity symbols, artist examples, sketching, final artwork, and reflection.
The unit gives the learning a path.
Instead of students doing one random art project, they are building toward something.
Start With the Big Idea
Before you choose the final project, start with the big idea. This is the heart of the unit. It answers the question: What is this unit really about?
The big idea might be a concept, like identity, community, nature, storytelling, movement, pattern, contrast, or transformation. It might be an art skill, like color mixing, shading, composition, or observational drawing. It might be an artist study, a historical movement, a cultural connection, or a seasonal theme.
A strong big idea gives your unit meaning. It helps you avoid the “cute project parade,” where lessons may look fun but do not really connect to a larger learning purpose.
For example, instead of planning a unit around “students will make a tree,” the big idea might be: artists use line, texture, and color to show the feeling of a landscape. Instead of “students will make a mask,” the big idea might be: artists use symbols, materials, and design choices to communicate identity.
That shift matters.
It moves the unit from activity to learning.
Decide What Students Should Learn
Once you know the big idea, decide what students should know, understand, or be able to do by the end of the unit. This is where you identify the learning goals.
Try to keep your learning goals clear and realistic. You do not need fifteen goals for one unit. In fact, please do not do that to yourself unless you enjoy planning documents that multiply like unclaimed art projects in June.
A strong art unit plan might focus on two or three main goals.
Students will understand how artists use value to create the illusion of light and shadow.
Students will use line and pattern to create movement in an artwork.
Students will explore how color choices can communicate mood.
Students will create a mixed media artwork that combines drawing, painting, and collage.
Students will reflect on their creative choices using art vocabulary.
These learning goals help you decide what lessons belong in the unit. If a lesson does not support the goals, it may not need to be there. That does not mean it is a bad lesson. It just means it might belong somewhere else.
Choose the Final Artwork or Performance Task
After you know the big idea and learning goals, think about the final artwork or performance task. What will students create to show their learning?
This final project should connect to the skills and ideas students practiced during the unit. It should not feel like it dropped out of the sky wearing a tiny art teacher hat.
If students spend the unit learning about color theory, the final artwork should require them to use color intentionally. If they learn about texture, the final artwork should include texture in a meaningful way. If they study identity in art, the final artwork should invite personal symbols, choices, or self-expression.
This is what makes a unit feel coherent.
Students can see how the lessons connect. You can assess the learning more clearly. And the final artwork becomes more than a cute finished piece. It becomes evidence of growth.
Break the Unit Into Smaller Lessons
Once you know where the unit is going, break it into smaller lessons. This is where the plan becomes practical.
Think about what students need to learn first. What vocabulary do they need? What skills do they need to practice? What materials do they need to explore? What examples do they need to see? What choices do they need to make before beginning the final artwork?
A unit might include an introduction lesson, a skill-building lesson, a practice activity, an artist study, a planning page, the final artwork, and a reflection.
For example, a color theory art unit might look like this:
Students learn basic color vocabulary.
Students create a color wheel.
Students explore warm and cool colors.
Students practice using complementary colors.
Students plan a final artwork using a chosen color scheme.
Students create the final artwork.
Students reflect on how their color choices affected the mood of the piece.
That sequence makes sense because each lesson builds toward the next.
A good unit plan helps students climb the stairs instead of being asked to leap to the roof.
Keep the Sequence Logical
One of the most common reasons an art unit plan feels confusing is that the lessons are out of order. The projects might all be fun, but the learning does not build.
When planning your unit, ask yourself: What do students need to know before they can do this successfully?
If students are going to create a shaded still life, they need to understand value before the final drawing. If they are going to paint a landscape with depth, they need to understand space, horizon line, foreground, middle ground, and background first. If they are going to create a mixed media animal, they may need practice drawing basic shapes, adding texture, and layering materials.
This does not mean every unit needs to be slow or overly formal. It just means the lessons should build in a way that feels supportive.
Students should be able to feel the progression.
First we learned this.
Then we practiced this.
Now we are using those skills in our final artwork.
That is what makes a unit plan make sense.
Choose Materials That Support the Unit
Materials should support the learning goal, not just make the project look exciting. It is very easy to get pulled in by a beautiful material idea, but if the material does not help students practice the skill or understand the concept, it might add more work than value.
Ask yourself: What materials help students explore the big idea?
If the unit is about line, students might use pencil, marker, pen, string, wire, or printmaking tools. If the unit is about color, paint, oil pastels, markers, or collage paper might make sense. If the unit is about texture, students might use rubbing plates, collage materials, fabric, cardboard, paint, or mixed media. If the unit is about form, clay, paper sculpture, cardboard, or found objects could work beautifully.
Also consider your real teaching situation. How much storage do you have? How many classes are doing the project? How long does clean-up take? Do the materials match the age group? Do you have enough supplies? Will the project need drying time?
A strong unit plan is creative, but it is also realistic.
The best art unit in the world is not very helpful if it requires materials you do not have, space you cannot access, or clean-up time that exists only in a fantasy universe.
Build in Vocabulary
Art vocabulary helps students talk about what they are learning. It also helps them make stronger creative choices.
Choose a small set of vocabulary words that connect to the unit. You do not need to overload students with every possible term. Focus on the words they will actually use.
For a line art unit, vocabulary might include line, contour, pattern, movement, direction, and rhythm. For a color theory unit, vocabulary might include primary colors, secondary colors, warm colors, cool colors, complementary colors, and color scheme. For a value unit, vocabulary might include value, tint, shade, highlight, shadow, contrast, and gradient.
Use the vocabulary during demonstrations, discussions, reflections, and assessment. The more students hear and use the words in context, the more meaningful they become.
Vocabulary should not feel like a separate worksheet floating away from the art. It should live inside the creative process.
Add Artist Examples or Visual Inspiration
Artist examples can help students understand the unit in a deeper way. They show students that the skills they are learning exist in real artwork, not just in a classroom project.
You might include a famous artist, contemporary artist, local artist, cultural artwork, historical example, or even examples from nature, design, architecture, illustration, animation, or everyday life.
If you are teaching a unit on pattern, you might show patterns in textiles, ceramics, architecture, and contemporary art. If you are teaching a unit on identity, you might show portraits and self-portraits from diverse artists. If you are teaching a unit on landscapes, you might show different ways artists represent place, mood, and space.
The goal is not to turn every unit into a giant art history lecture. The goal is to help students see how artists use the same ideas in different ways.
Visual inspiration can also help students understand that there is not one right answer. Artists make choices. Students can make choices too.
Plan for Student Choice
A strong art unit should include room for student choice. This does not mean students need unlimited freedom at every step. Too much choice can overwhelm students, especially if they are still learning the skill.
Instead, offer structured choices.
Students might choose their subject, colors, background, symbols, composition, materials, pattern, theme, or final details. They might choose from a few options rather than anything in the entire universe. This helps students feel ownership while still keeping the unit focused.
For example, in a landscape unit, students might all practice foreground, middle ground, and background, but choose their own setting and season. In a color unit, students might all use a color scheme, but choose the subject of their final artwork. In an identity unit, students might choose the symbols and objects that represent them.
Choice makes the artwork feel personal.
Structure makes the learning feel clear.
You need both.
Think About Assessment Before the End
Assessment should not be something you invent after the artwork is finished and you are staring at a stack of projects wondering what exactly you meant to grade.
Before you teach the unit, decide what you will assess.
Will you assess student understanding of the big idea? Use of vocabulary? Skill development? Creative choices? Craftsmanship? Effort? Process? Reflection? Final artwork? All of the above, but in a manageable way?
The assessment should connect to the learning goals. If the unit goal is about using value, assess value. If the unit goal is about pattern, assess pattern. If the unit goal is about identity and symbolism, assess how students used symbols and explained their choices.
You might use a rubric, checklist, self-assessment, reflection page, artist statement, critique discussion, or teacher observation. For younger students, simple reflection and observation may be enough. For older students, a rubric or written reflection can help make expectations clear.
Assessment should help students understand their growth.
It should not make art feel like a guessing game.
Include Reflection
Reflection is what helps students connect the making to the learning. It gives them a chance to think about what they tried, what they learned, what choices they made, and what they might do differently next time.
Reflection can happen in many ways. Students can write an artist statement, answer a few questions, discuss with a partner, complete an exit ticket, share their work, or compare their final artwork to their planning sketch.
Reflection questions might include:
What skill did you practice in this unit?
How did you use the big idea in your artwork?
What creative choice are you proud of?
What was challenging?
How did your artwork change from your original plan?
What would you try differently next time?
How did you use line, color, texture, value, space, or pattern?
Reflection does not need to be long to be meaningful. Even a few thoughtful sentences can help students recognize their growth as artists.
Make the Unit Flexible
A unit plan should guide you, not trap you. Real teaching includes schedule changes, class differences, absent students, shortened periods, material issues, and those mysterious days when the entire class seems to have absorbed the energy of a squirrel convention.
Build flexibility into your unit.
Have an extension for early finishers. Know which step can be simplified if time runs short. Leave room for an extra work day if students need it. Think about what can become homework, sketchbook work, or independent practice if needed. Consider how the unit could be adapted for different grade levels or abilities.
A flexible unit plan helps you stay calm when real life happens.
And real life always happens.
Use a Simple Art Unit Plan Template
If you want your unit plan to feel organized, use a simple structure that you can repeat.
A helpful art unit plan template might include:
Unit title.
Grade level.
Big idea.
Essential question.
Learning goals.
Art vocabulary.
Artist or visual inspiration.
Materials.
Lesson sequence.
Student choice options.
Differentiation.
Assessment.
Reflection.
Timing.
Clean-up and storage notes.
You do not need to make the template overly complicated. The best unit plan is the one you will actually use. If it becomes too long, too fancy, or too overwhelming, it may stop supporting you.
A unit plan should be a teaching tool.
Not a paperwork monster.
An Example of a Simple Art Unit Plan
Let’s imagine you are planning a unit on line and pattern for elementary students.
The big idea could be: artists use line and pattern to create movement, rhythm, and visual interest.
The learning goals could be: students will identify different types of lines, create repeated patterns, and use line and pattern to design a finished artwork.
The vocabulary could include line, pattern, repetition, movement, rhythm, and contrast.
The lesson sequence might begin with a line exploration page, then a pattern practice activity, then an artist example or visual inspiration, then a planning sketch, then a final artwork, and finally a reflection.
Students might all practice the same concepts, but choose their subject, colors, patterns, and background details.
The assessment would focus on line variety, repeated pattern, effort, creative choices, and reflection.
That unit makes sense because each part connects. Students learn about line and pattern, practice the skills, see examples, apply the ideas, and reflect on their learning.
That is the goal.
Support Your Planning With Free Art Lessons
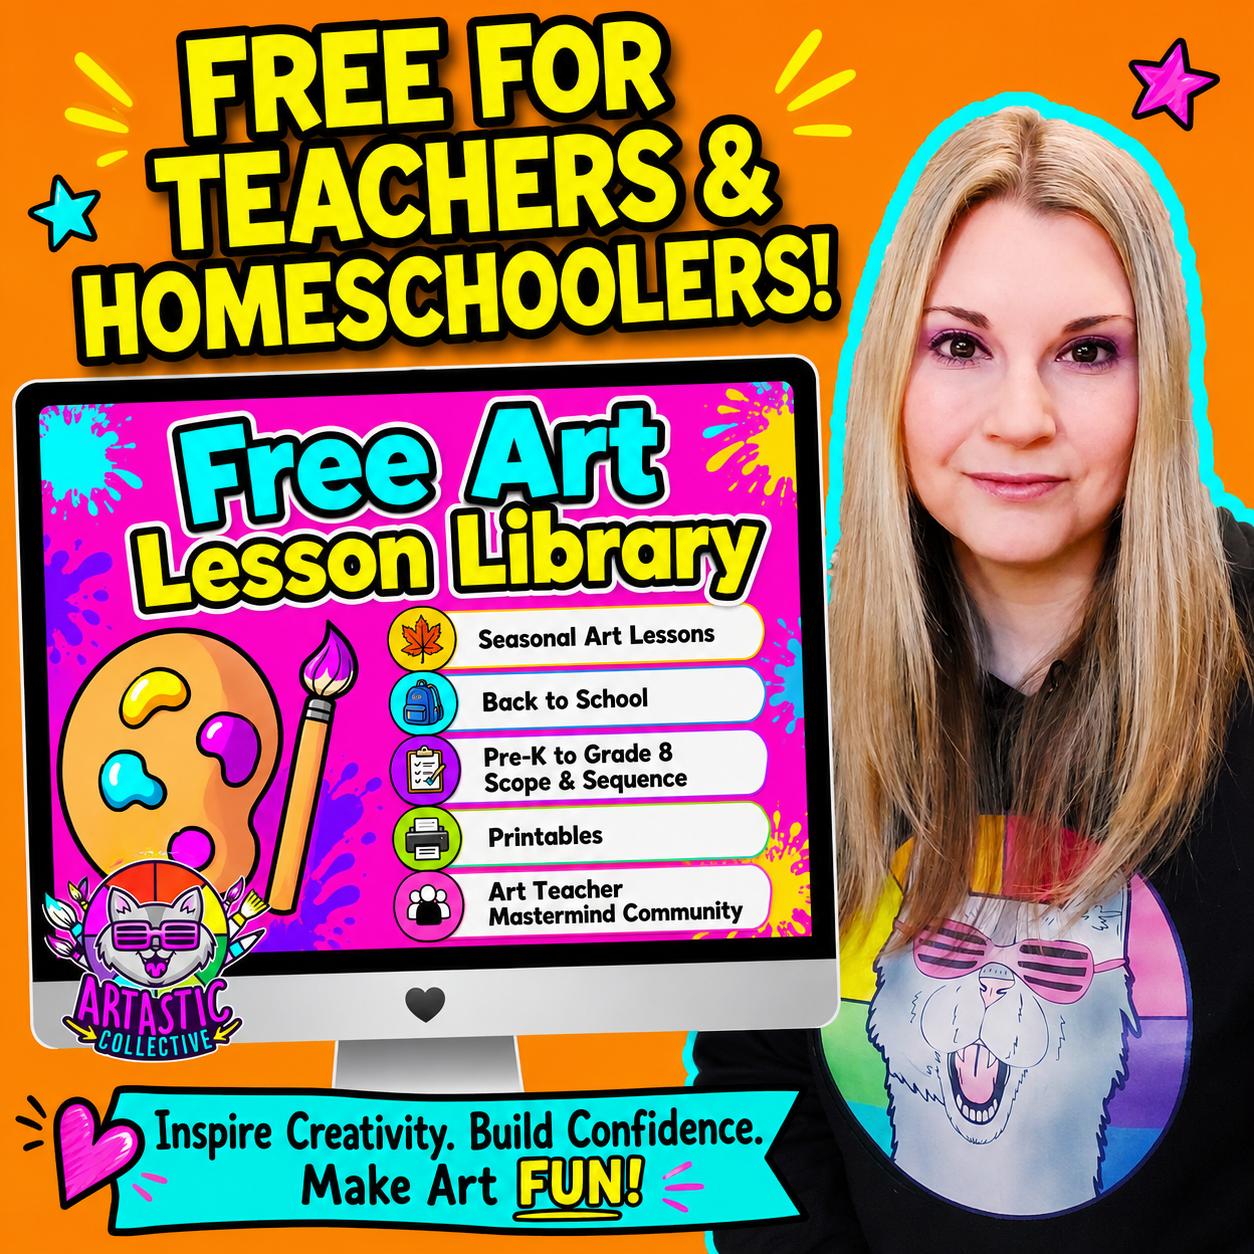
If you are writing an art unit plan and want a little support, inspiration, or a place to begin, I would love to invite you to explore the Free Art Lesson Library.
Inside the library, you can find free art lessons, seasonal art projects, back to school art resources, art planning tools, and creative ideas for art teachers, classroom teachers, and homeschool educators. These resources can help you see how lessons are structured, gather ideas for your own units, and feel more confident as you plan meaningful creative learning for students.
You can join the Free Art Lesson Library here:
Whether you are planning your first unit, organizing a full year of art, building a scope and sequence, or simply looking for fresh ideas, the free library gives you a helpful place to begin.
Final Thoughts
Writing an art unit plan that actually makes sense begins with connection. Start with the big idea. Choose clear learning goals. Build a logical lesson sequence. Select materials that support the learning. Add vocabulary, artist examples, student choice, assessment, reflection, and flexibility.
A strong unit plan does not need to be complicated.
It needs to help students build understanding over time.
When your lessons connect, students can see their own growth. They understand why they are practicing certain skills. They are more prepared for the final artwork. And you can teach with more clarity and confidence.
That is what makes an art unit plan truly useful.
Not fancy paperwork.
Not endless boxes to fill in.
Just a clear, thoughtful path that helps students create, learn, and grow as artists.
Sincerely,
Ms Artastic
Discover FREE Art Lessons & Resources
Let's Make Some Art! I will create the Art Lessons & Resources, you inspire the kids!
Stay connected with news and updates!
Join our mailing list to receive the latest news and updates from our team.
Don't worry, your information will not be shared.
We hate SPAM. We will never sell your information, for any reason.
Ms Artastic