How to Write an Art Lesson Plan Step by Step
Jul 14, 2026
How to Write an Art Lesson Plan Step by Step
Writing an art lesson plan can feel simple in theory and suddenly very complicated the moment you sit down to actually do it. You may have a beautiful project idea in your head. You can picture the colors, the materials, the student artwork, the display, the little “wow” moment when kids realize what they are making. But then the planning questions start piling up like construction paper scraps after a collage lesson.
What grade level is this for?
What skills are students practicing?
What materials do they need?
How long will it take?
What do I say first?
How do I make the lesson meaningful instead of just cute?
How do I keep everyone from using half a glue bottle in one enthusiastic squeeze?
If you are an art teacher, classroom teacher, or homeschool educator, learning how to write an art lesson plan step by step can make art feel so much more manageable. A strong art lesson plan gives you a clear path to follow, helps students understand what they are learning, and gives the project purpose beyond the final artwork.
Because a good art lesson is not just about making something pretty.
It is about helping students build creative confidence, practice visual art skills, make thoughtful choices, and understand that art is a process.
Start With the Big Idea
Before you choose supplies or write instructions, begin with the big idea. Ask yourself what the lesson is really about. Not just what students are making, but what they are learning.
Is the lesson about line? Shape? Color? Texture? Pattern? Space? Value? Form? Is it about an artist, a culture, a season, a technique, a theme, or a creative problem? Is it about self-expression, observation, storytelling, design, or experimentation?
The big idea gives the lesson meaning.
For example, a student might be making a cactus in a pot, but the big idea could be using shape, line, and pattern to create a bold plant artwork. A student might be creating a winter landscape, but the big idea could be exploring foreground, middle ground, background, and cool colors. A student might be drawing an animal, but the big idea could be building confidence by breaking complex forms into simple shapes.
When you know the big idea, the rest of the lesson becomes easier to plan.
It helps you decide what to teach, what to demonstrate, what vocabulary to include, and what you want students to understand by the end.
Choose a Clear Learning Goal
Once you know the big idea, write a simple learning goal. This is the part of the lesson that answers, “What should students be able to do, understand, or practice?”
A learning goal does not need to sound stiff or overly formal. It just needs to be clear.
For an elementary art lesson, your learning goal might be:
Students will use line and pattern to create a detailed artwork.
Students will explore warm and cool colors in a seasonal painting.
Students will create a self-portrait that shows personal interests and identity.
Students will use repeated shapes to create a balanced composition.
Students will practice drawing from observation.
Students will use texture techniques to create a mixed media animal artwork.
When writing your learning goal, keep it connected to the actual lesson. If students are not truly practicing color mixing, do not make color mixing the goal. If the lesson is mostly about pattern, say that. Clear goals help you stay focused and help students understand why they are doing the project.
Think About the Grade Level
A strong art lesson plan should match the age, skill level, and needs of your students. The same theme can work for multiple grades, but the expectations and steps should change.
For younger students, an art lesson may need simpler shapes, fewer materials, shorter steps, and more demonstration. Young students often need support with cutting, gluing, drawing, spacing, and following multi-step directions. They benefit from repetition, visual examples, and clear routines.
For upper elementary students, you can usually add more detail, choice, planning, and vocabulary. They can handle more steps, more independence, and more intentional decisions about composition, color, and craftsmanship.
For middle school or older students, lessons can include deeper themes, more personal choice, artist research, written reflection, more advanced techniques, and stronger expectations around planning and creative decision-making.
When planning, ask yourself: What can students realistically do at this grade level? Where will they need support? What can they do independently? What might be too easy or too overwhelming?
This helps you avoid the classic teacher trap of planning something that looks gorgeous in your head but requires tiny hands to perform impossible scissor gymnastics.
Select Materials That Actually Make Sense
Materials can make or break an art lesson. Before you commit to a project, think realistically about what you have, what students can use successfully, and what you can manage in your teaching space.
Ask yourself: Do I have enough materials for every student? Are these materials age-appropriate? Will the clean-up be manageable? Do I need drying racks? Will this lesson work in my room, on a cart, in a classroom, or at home? Can I simplify the materials and still meet the learning goal?
A good art lesson does not need fancy supplies. Many meaningful art lessons for kids can be created with basic materials like paper, pencil, black marker, crayons, colored pencils, watercolor, oil pastels, or collage paper.
Choose materials that support the learning goal. If students are practicing line and pattern, markers and crayons may work beautifully. If they are exploring texture, mixed media or collage might make sense. If they are learning color mixing, paint may be worth the extra prep.
But if the material adds chaos without adding meaning, it might not be necessary.
Sometimes simple is the smartest choice.
Plan the Introduction
The beginning of an art lesson sets the tone. This is where you help students understand what they are learning and why it matters.
Your introduction might include a question, an image, a short discussion, an artist connection, a seasonal connection, a real-world example, or a quick demonstration. The goal is to spark curiosity and give students a reason to care.
For example, if you are teaching a lesson about pattern, you might show students patterns in nature, clothing, architecture, or artwork. If you are teaching a self-portrait lesson, you might ask students how artists show identity. If you are teaching a landscape lesson, you might look at images that show foreground, middle ground, and background.
Keep the introduction focused. You do not need to give a 40-minute lecture before students touch a pencil. Students need enough context to understand the lesson, but they also need time to create.
A strong art lesson introduction usually answers three things:
What are we learning?
Why does it matter?
What will we create?
If students understand those pieces, they are much more likely to begin with confidence.
Break the Process Into Steps
This is where the lesson plan becomes practical. Write down the actual steps students will follow. These steps should be clear enough that you can teach from them, but not so detailed that you need a scroll to read them.
Think through the project from start to finish.
Will students begin with pencil?
Will they plan in a sketchbook?
Will they draw the main shapes first?
Will they outline?
Will they add details?
Will they paint?
Will they collage?
Will they write an artist statement?
Will they reflect at the end?
Breaking the lesson into steps helps you catch problems before they happen. You might realize students need to draw larger. You might notice the paint should happen before the marker. You might realize you need an extra drying day. You might discover that the project is actually two classes longer than you thought.
This is extremely normal.
Art lessons have a way of growing little legs if we do not plan the steps clearly.
Include a Demonstration
Most art lessons benefit from a demonstration. Students need to see the process, especially when they are learning a new technique or material.
Your demonstration does not need to show every single detail. In fact, it often works better when you demonstrate the key skills and then leave room for students to make their own choices.
For example, if students are creating a patterned animal, you can demonstrate how to draw basic shapes, how to add patterns, and how to use line variety. You do not need to draw every animal possibility. If students are painting, demonstrate brush care, color mixing, and how much water to use. If students are collaging, demonstrate cutting, layering, and gluing.
During the demonstration, name the skills you want students to practice. Say things like, “Notice how I am using repeating lines to create pattern,” or “I am pressing lightly with my pencil first so I can adjust my drawing,” or “I am choosing colors that create contrast.”
This helps students connect the demonstration to the learning goal.
Build in Creative Choice
A strong art lesson plan should give students room to make choices. This does not mean every lesson needs to be completely open-ended. Too much freedom can overwhelm students, especially younger learners or students who feel unsure about art.
But some choice is important.
Students might choose their colors, background, subject, patterns, details, materials, composition, or personal symbols. Even small choices can help students feel ownership over their artwork.
For example, everyone might create a landscape using foreground, middle ground, and background, but students choose the setting. Everyone might create a patterned animal, but students choose the animal, colors, and background. Everyone might create a name design, but students choose patterns and color schemes.
Structure helps students feel supported.
Choice helps students feel connected.
The best lessons often include both.
Plan for Differentiation
Students do not all enter an art lesson with the same skills, confidence, or needs. A good art lesson plan includes ways to support different learners.
Differentiation can be simple. You might provide visual steps, drawing guides, extra examples, sentence starters, simplified shapes, material choices, or extension challenges. You might allow students to work at different levels of detail. You might offer extra support for students who struggle with fine motor skills or additional creative challenges for students who finish early.
For younger students, you might provide templates or guided drawing support. For older students, you might provide more open-ended options. For students who are nervous, you might offer practice paper. For students who need a challenge, you might invite them to add a background, border, writing component, or more complex details.
Differentiation is not about creating thirty different lessons.
It is about making one lesson accessible enough that different students can enter it successfully.
Think About Timing
Timing is one of the trickiest parts of art lesson planning. A project that seems like one class in your head can easily become three classes in real life, especially when you add transitions, instructions, clean-up, absent students, and the child who spends twenty minutes choosing between two shades of blue.
When writing your lesson plan, estimate how long each part will take. Include time for introduction, demonstration, work time, clean-up, reflection, and finishing.
If you are unsure, give yourself more time than you think you need.
Most elementary art lessons can take 2–3 classes depending on student age, class skill level, behavior, instruction style, and time available. A simple drawing lesson might take one class. A mixed media project may take several. A painting lesson might need drying time. A sculpture or collage project may need extra time for assembly.
Always ask: What happens if students do not finish? What can early finishers do? Can this lesson be shortened or extended?
A flexible plan is a teacher’s best friend.
Plan for Clean-Up
Clean-up is part of the lesson. It is not an afterthought.
This is especially true in the art room, where materials can quickly become a tiny festival of chaos if routines are unclear. When writing your lesson plan, think about how students will clean up before you teach the lesson.
Where will wet artwork go?
Who collects materials?
Where do brushes get washed?
Where do scraps go?
How will tables be wiped?
Where do unfinished projects get stored?
What should early finishers do?
What is the signal for clean-up?
Even if you do not write every detail into the formal lesson plan, you should know the answers. Strong clean-up routines help protect your materials, save time, and keep the class from ending in a last-minute scramble.
And truly, nothing humbles a teacher faster than realizing you gave paint to thirty students and forgot to plan where the wet papers would go.
Add Reflection
Reflection helps students understand their own creative growth. It turns the lesson from “I made something” into “I learned something.”
Reflection can be simple. Students might answer a question, complete an artist statement, share with a partner, write about their favorite part, name one challenge, or identify the skill they practiced.
For younger students, reflection might be oral. You might ask, “What is one choice you made in your artwork?” or “What part are you proud of?” For older students, you might include written reflection or critique questions.
Reflection questions could include:
What skill did you practice in this artwork?
What creative choice did you make?
What part of your artwork are you most proud of?
What was challenging?
What would you try differently next time?
How did you use line, color, shape, texture, or pattern?
Reflection helps students build vocabulary, confidence, and ownership. It also gives you insight into what they understood.
Decide How You Will Assess the Lesson
Assessment in art should connect to the learning goal. You are not just grading whether a project looks “nice.” You are looking at the skills, process, effort, creative choices, craftsmanship, and reflection connected to the lesson.
If the goal is pattern, assess pattern. If the goal is color mixing, assess color mixing. If the goal is composition, assess composition. If the goal is creative expression, assess how students made personal choices.
You can use a simple checklist, rubric, self-assessment, artist statement, or teacher observation. For younger students, informal assessment may be enough. For older students, a rubric or reflection page can help make expectations clear.
A good art assessment should help students understand what they learned and how they grew.
It should not make them feel like art is only about being “good” at drawing.
Create a Simple Art Lesson Plan Template
Once you understand the parts of an art lesson plan, you can use a simple structure again and again.
A strong art lesson plan template might include:
Lesson title.
Grade level.
Big idea.
Learning goal.
Materials.
Vocabulary.
Introduction.
Teacher demonstration.
Step-by-step process.
Creative choices.
Differentiation.
Timing.
Clean-up plan.
Reflection.
Assessment.
You do not need to overcomplicate it. The point of a lesson plan is to support your teaching, not bury you in paperwork.
A useful plan helps you know what you are teaching, how students will learn it, and how you will guide them through the process.
Support Your Planning With Free Art Lessons
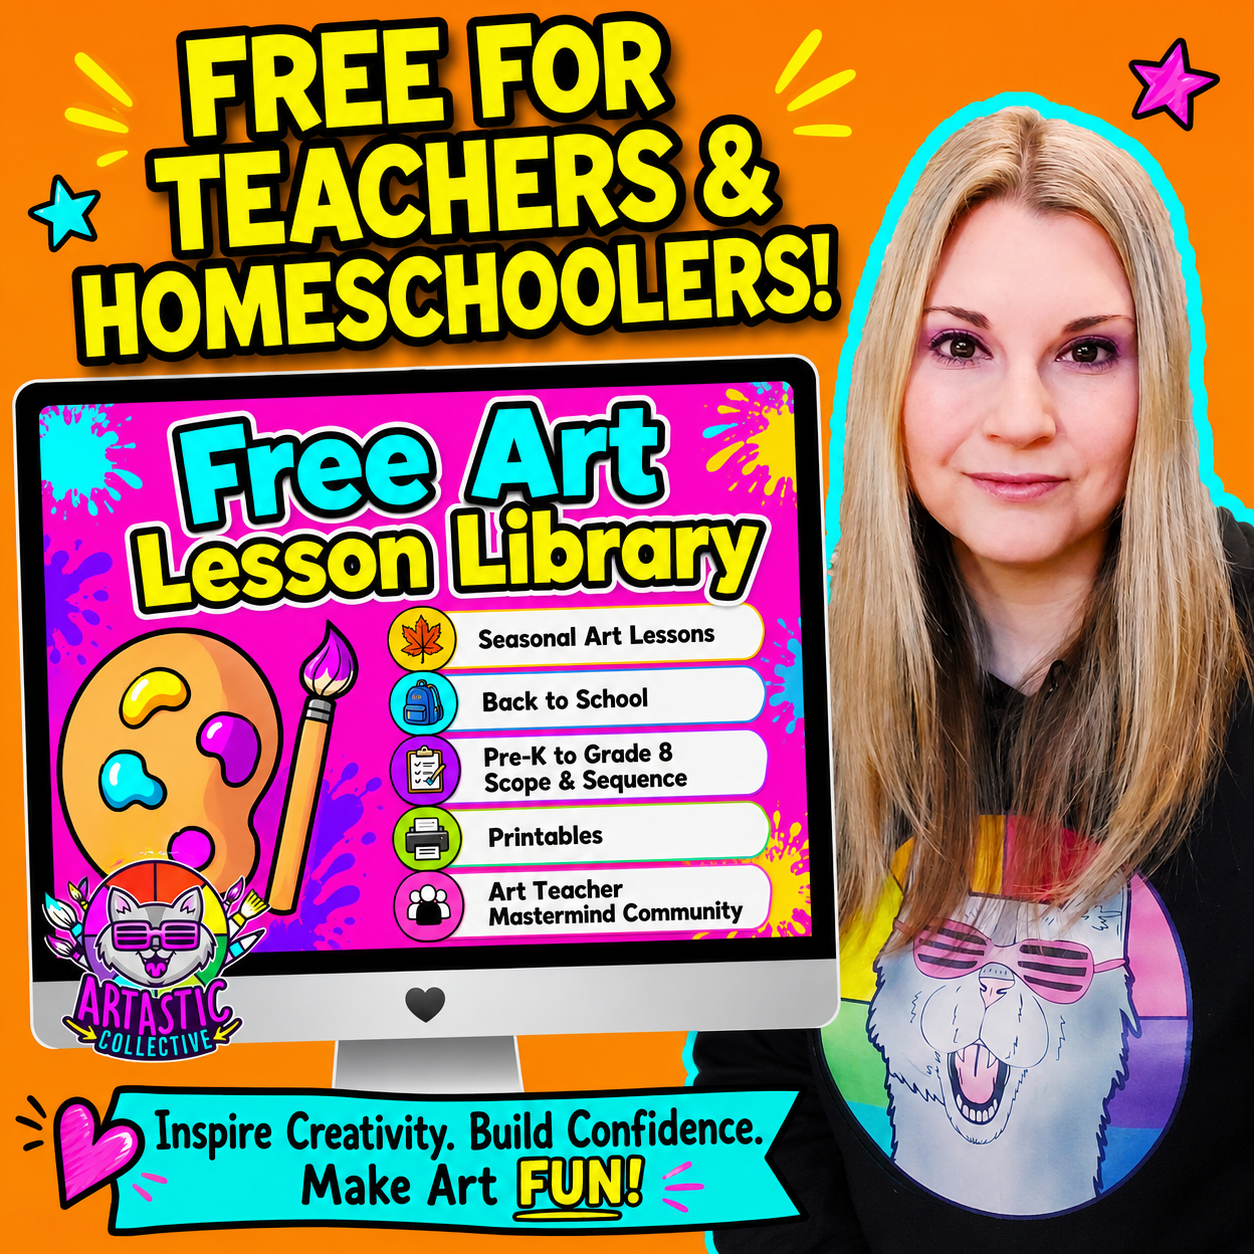
If you are learning how to write art lesson plans or you simply want a little more support as you plan your year, I would love to invite you to explore the Free Art Lesson Library.
Inside the library, you can find free art lessons, seasonal art projects, back to school art resources, art planning tools, and creative ideas for art teachers, classroom teachers, and homeschool educators. These resources can help you see how lessons are structured, gather ideas for your own classroom, and feel more confident planning creative experiences for kids.
You can join the Free Art Lesson Library here:
Whether you are planning your first art lesson, organizing your year, preparing for back to school, or just looking for fresh inspiration, the library gives you a helpful place to begin.
Final Thoughts
Writing an art lesson plan step by step becomes much easier when you start with the learning, not just the finished project. Begin with the big idea. Choose a clear goal. Match the lesson to your students. Select materials that make sense. Plan the introduction, steps, demonstration, creative choices, differentiation, timing, clean-up, reflection, and assessment.
A strong art lesson plan does not need to be complicated.
It needs to be clear, purposeful, and supportive.
When you plan with intention, students are more likely to feel confident, engaged, and creative. And when students feel supported, they are more willing to take risks, try new skills, and see themselves as artists.
That is the heart of a beautiful art lesson.
Sincerely,
Ms Artastic
Discover FREE Art Lessons & Resources
Let's Make Some Art! I will create the Art Lessons & Resources, you inspire the kids!
Stay connected with news and updates!
Join our mailing list to receive the latest news and updates from our team.
Don't worry, your information will not be shared.
We hate SPAM. We will never sell your information, for any reason.
Ms Artastic